I recently have decided to update Kinleys bedroom. I had repainted her dresser in a fun teal ombre and painted her walls a neutral grey. Her ceiling fan looked outdated. It was brass and ugly. However it worked wonderfully and was so quite.
My husband refused to let me get a new one. "There is nothing wrong with that fan." and "your an impulse buyer". Which maybe true, but none the less, the fan was not going to flow with the design so it hit me, why not just spray it.
Here is the fan before and after...
 |
| Before |

 |
| After... also a peak at the much more pleasing neutral wall color. |

I think it looks like a brand new fan! Very happy with how it turned out.
here is what I did if you are interested...
First flip your breaker to make sure the electricity is off to your fan. Then I had my hubby disconnect everything, although its pretty easy. I had to put it back up and reconnect everything. It's a good idea to mark you wires if they aren't already...
Then I took most of the fan pieces apart and taped anything I didn't want to be sprayed. I use frog tape.


Adam hung the light socket part and the other hanging part so that I could spray it more evenly from two saw horses with a 2x4. Everything else I just laid out on some cardboard I had from in my garage..
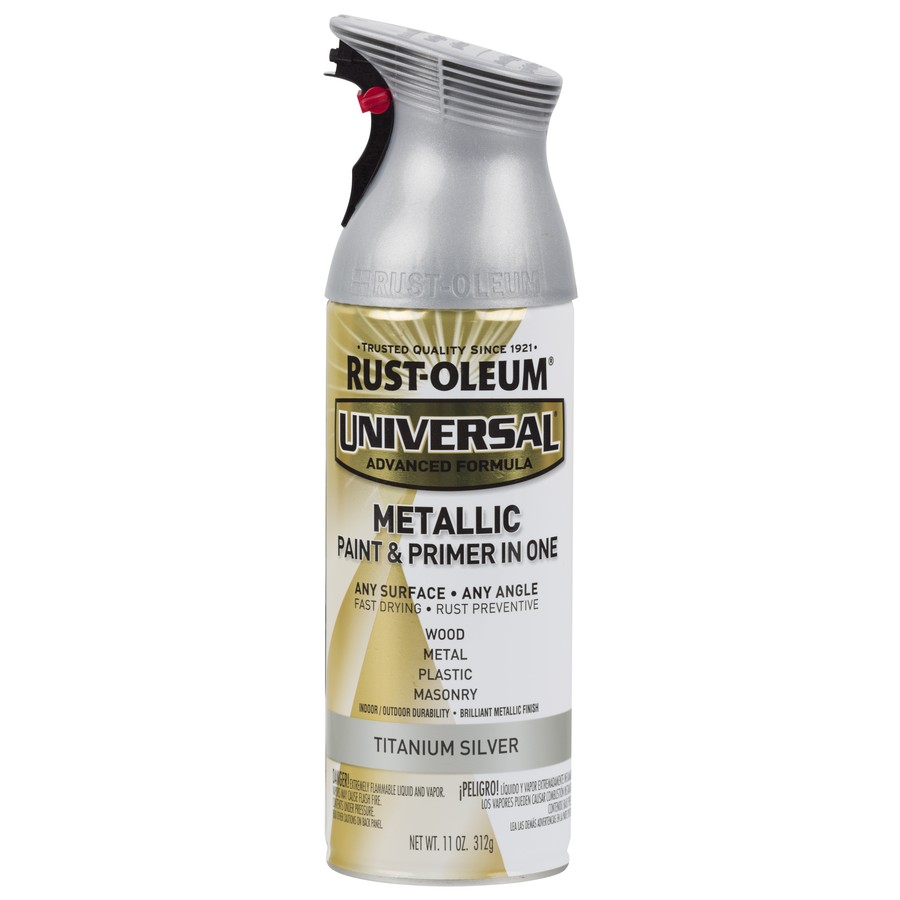
Here is the paint I used. I got mine at Home Depot...
It's better to do light multiple coats to avoid drips. I used just a little over 1 can. If you spray carefully you may be able to get away with just one can. I let it dry for about 3 hrs and then was able to reassemble everything. Super easy and looks like a new fan. I reattached the fan, connected the wires to the matching colors, flipped the breaker and had a great looking working fan!


.jpg)
